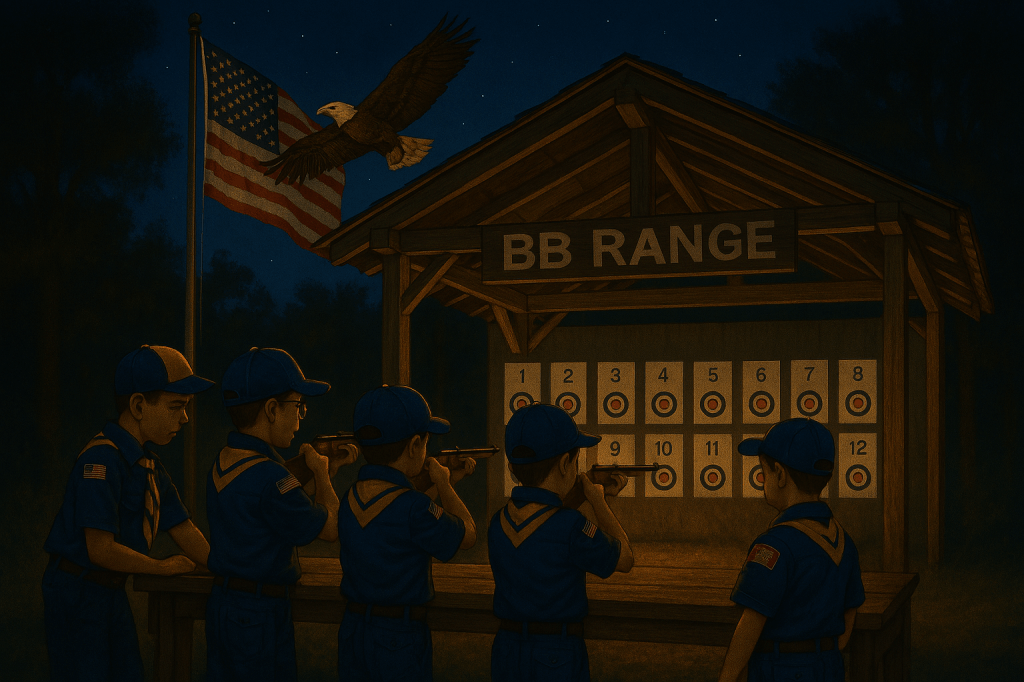
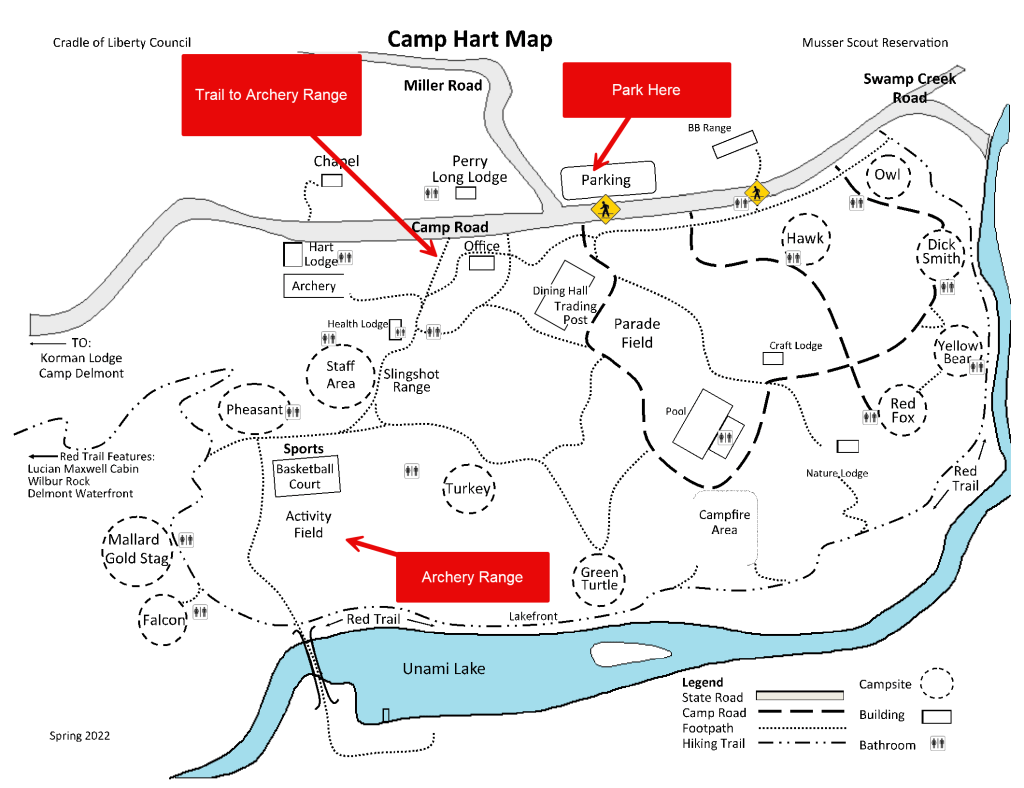
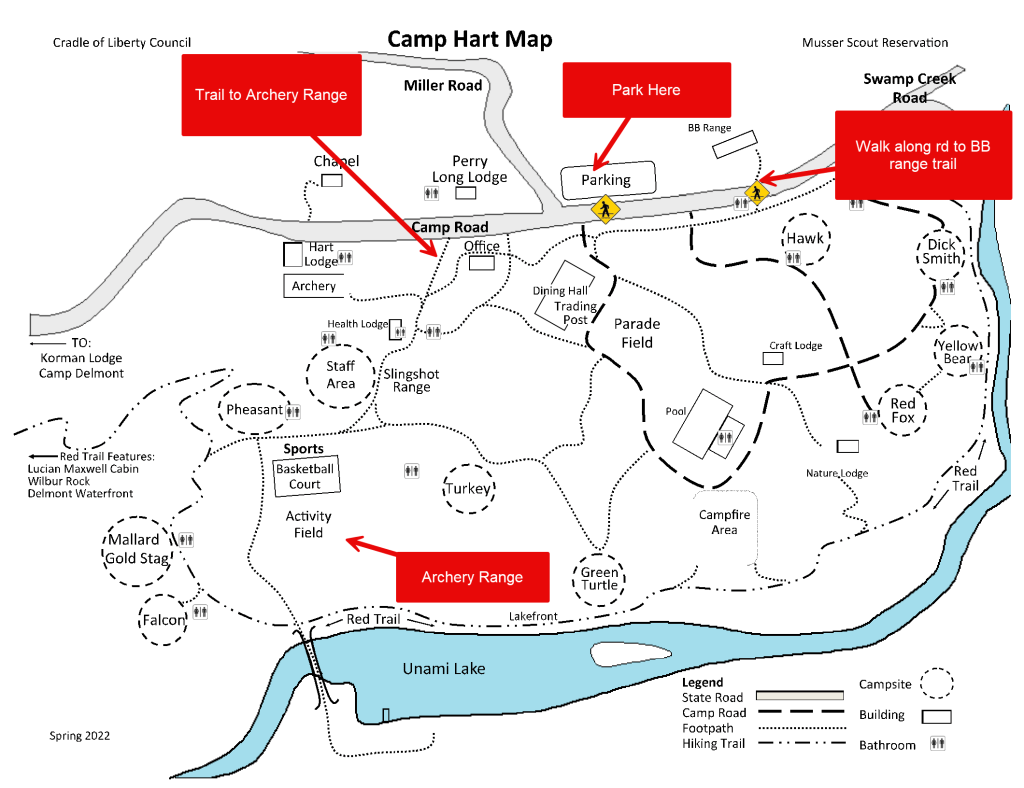
Tomorrow we will be meeting at Camp Hart in Upper Hanover Township for BBs. We have a number of trained leaders in order to run this program and no prior experience is required or expected for cub scouts. All equipment is provided, we recommend bringing a water bottle and listening ears.
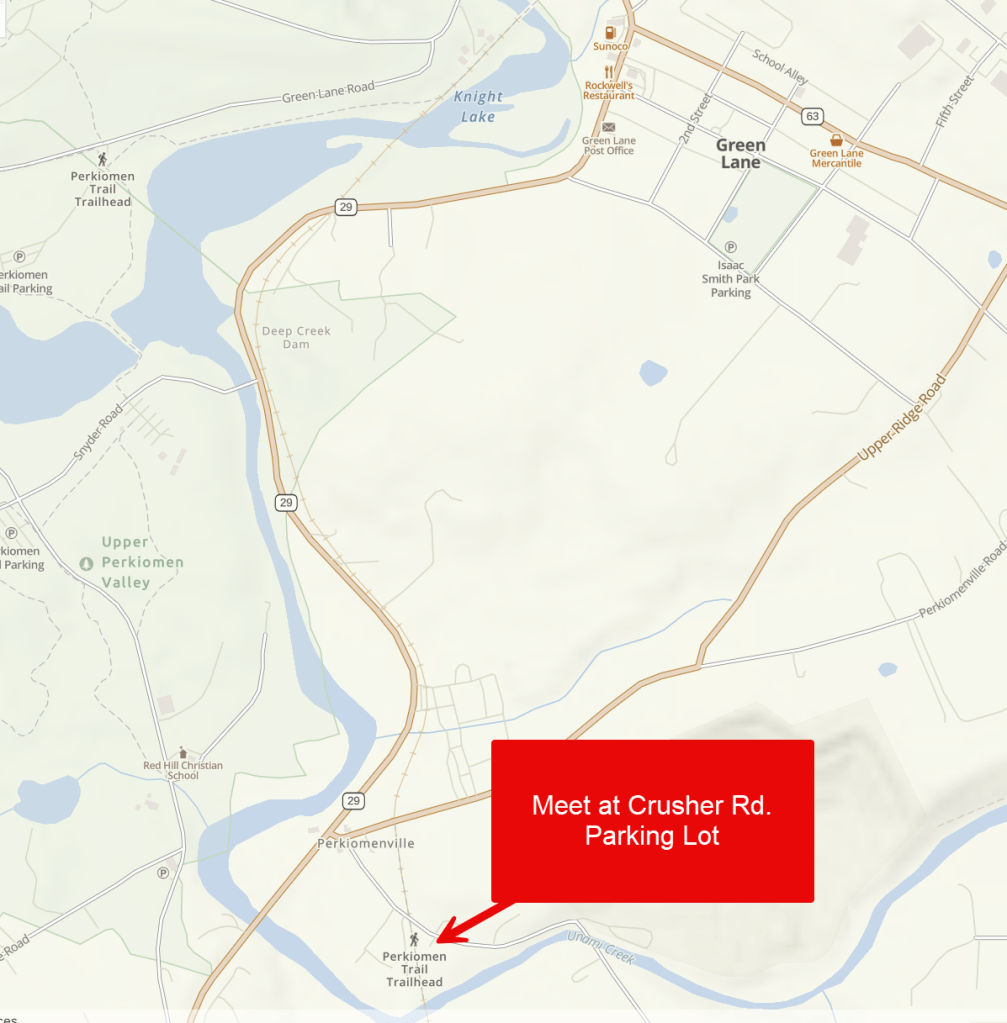
Please see the maps below for the location and for the short walk to get from the parking lot to the BB range, follow swamp creek Rd, away from Miller Road and it will be the first trail on your left..
Date: October 6, 2025
Time: 6:30pm – 7:30pm
Location: Camp Hart – 1425 Camp Rd, Pennsburg
Register For Fall Fest
Fall Fest takes place at Musser Scout Reservation, the same place we go for BBs and Archery. Fall Fest includes Fishing, BBs, Archery, pumpkin carving, orienteering, and more. First year scouts are free of charge. We are trying to organize a group to go before our camping trip on November 1st.
If you would like to join us please register at: Cradle of Liberty Council – 2025 Cub Scout Fall Fest
– ( 10am BBs, 11am Archery, 1:30pm Fishing )
Register for Pack 170
Looking to sign up and join Pack 170? Click Here Scouting units near you – Boy Scouts of America It is $85 to register with the national organization and then $120 for our local pack. Please reach out to cub master, Pete Wurst, or Committee Chair, Joanna Kunkel, if you have any questions regarding financial assistance.

Youth Protection
Please review annual Youth Protection activities and videos with your cub scouts. This is part of each of your scout’s Bobcat requirements. Find more details at Youth Protection – Cub Scout Pack 170 Red Hill PA
Other Upcoming Events
See the Pack 170 Calendar for all upcoming events.
Monday October 27 – Pack Halloween Party
Saturday November 1 – Fall Fest and Fall Camping trip
Saturday November 8 – Scouting for Food
Saturday November 15 – Scouting for Food
- AOLs invited to camp with 108